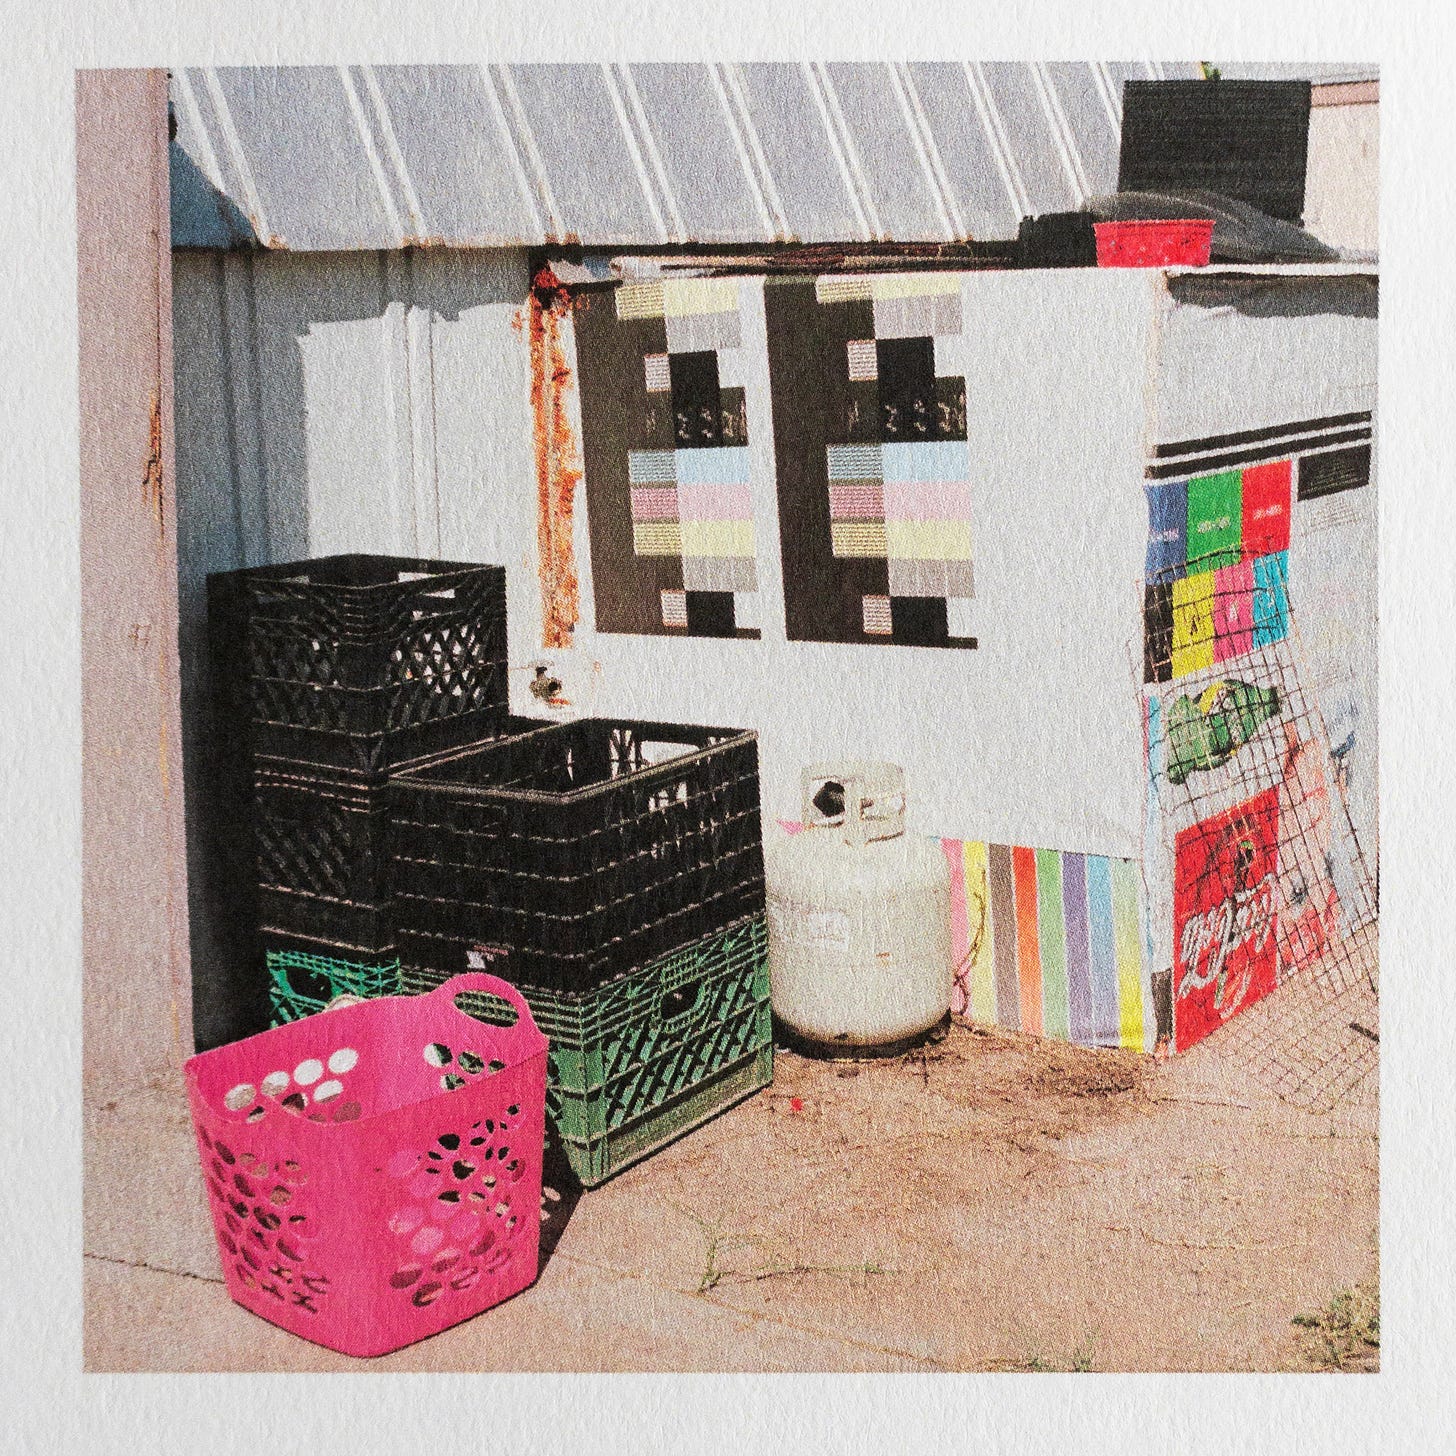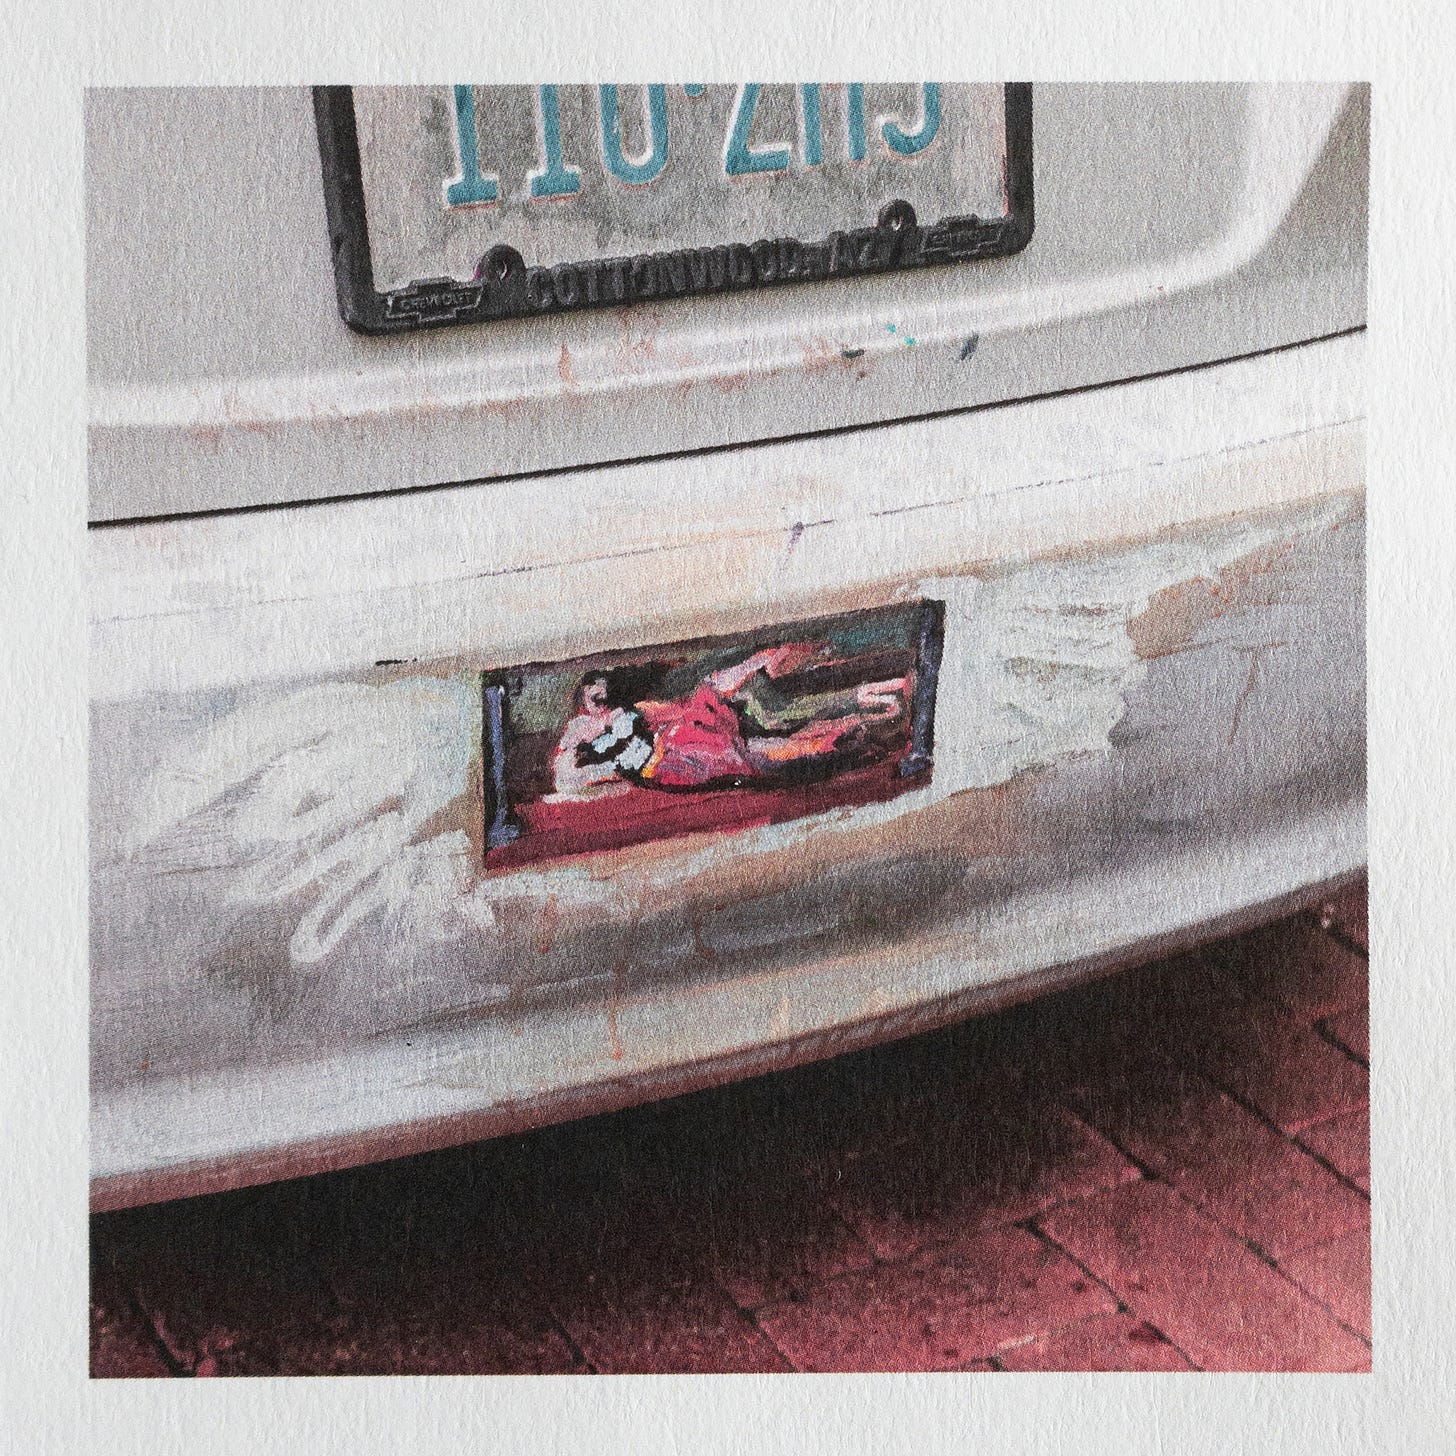
We all know the dilemma – ingredients chopped, stove on, stomach grumbling, and you’re on your phone frantically scrolling through the book-length article above the actual recipe to see how much chili powder to throw in the pot. As someone who has enough trouble understanding the difference between a tsp. and a tbsp. as it is, I’ve never read any of those long-form recipe articles, needing my full attention to comprehend just the cooking directions. But I have come to understand that there are a few good reasons why those long recipe stories are there. A longer article boosts a recipe blog’s search engine results, drawing more people to actually end up on the page. And more scrolling once you’re there means more ads you might click on, which is more money in the recipe creator’s pocket. Most importantly, the long backstory and personal details are there to make it harder for someone to rip off the recipe and pass it on as their own. Recipes on their own aren’t protected by U.S. copyright law, and so the embellishment is there to make the whole thing something the author can copyright. I don’t blame the people publishing their delicious recipes online for wanting to make the most of it. It is usually worth scrolling past the longwinded preamble to get to the good stuff, even if it is inconvenient when the onions are already in the pan and you forget whether you need two cloves of garlic or three.
I’ve been wanting to write a recipe of my own, but not for food (reader be thankful). I want to share the recipe I use to make my pictures look the way they do, specifically pictures made with a digital camera and printed on my old laser printer. And so I figured that if I’m going to share that recipe I might as well play the game and put a long and winding explanation here at the top, and let you make the decision to either read on or scroll down for a good few seconds to see what Lightroom settings I use.
Earlier this year I did some hard math and came to the conclusion that it was time to switch my personal work from film to digital. The cost of film and processing continues to go up at what seems like an exponential rate, and the time commitment of scanning and spotting never seems to decrease no matter how much experience I have. Based on an equation involving my personal goal to take a certain number of “serious” pictures each year, the annual cost of film and processing is just about the same as a very nice digital camera (which doesn’t expire after a year or two). This doesn’t even factor in the time saved working with digital images, which is considerable. Numbers don’t lie, but it was difficult to accept the outcome.

The switch to digital would mean learning a whole new way of working with images, and also learning how to make those images fit alongside all the pictures I’ve taken on film. And as silly as it sounds, I was also worried about stepping away from the prestige of film, the community that is continuously supporting it, the hashtags you get to use, the rush of getting a roll of film back from the lab or pulling it out of the developing tank. There is a romance to using a film camera that was not quite translated when digital cameras became the standard. I was pretty torn, but then I heard Kodak was raising prices yet again and the decision became a bit easier.
So, I bought the very nice digital camera around the beginning of this year. I found a used Fujifilm GFX 50R and a lens on eBay, in great condition. Knowing the cost of the camera was less than I spent on film in the last two years helped to lessen the sting of seeing the charge to my bank account, but it was still quite the hit. Nonetheless, I landed on the GFX because it fits my needs – high resolution, quality lens selection, small enough to carry around without too much of a problem. The 4:3 aspect ratio of the sensor makes sense for all the square pictures I take because I don’t have to crop off as much of the frame. It is heavy, but it feels good to hold, and looks like any other Fujifilm camera but on illegal steroids. I’m sure any number of different cameras would have ended up working just as well, but at some point I just had to decide, to avoid any more agonized review reading, speculative YouTube watching, and endless eBay scrounging. So far, the GFX has been great and I have no regrets.
As for processing, I use Lightroom and Photoshop, and occasionally a plug-in or two. I keep all the original RAW files on an external drive to improve overall computer performance, and bring working files temporarily onto my desktop. I import everything into Lightroom right off the card and do all my tagging, grouping, sequencing, and cropping there. The organizational features of Lightroom are powerful, but I have found the actual color correction and toning process clunky. Having worked for years adjusting film scans in Photoshop, I am much more familiar and efficient working there with layers and masks instead of scrolling through Lighroom’s endless bar of sliders. And so once I am ready to color correct an image, I export it from Lightroom as an uncompressed TIF to Photoshop, where I make all of my color and tonal adjustments.
Because I know no one is really reading at this point, I’d just like to throw it out here in the middle that writing this post has been tough (which is the reason it has taken so long). I don’t want to sound like a snob, assuming people actually want to copy the look of my pictures. And I don’t really want to front as some master printer – I just use trial and error to learn what buttons to press to make a nice laser print. But for some reason I do feel it is important to share my process in an interesting and informative way. Photographers, it seems, either focus their whole practice on the purely technical aspects of making their pictures, or completely ignore that side of the art and pretend the picture falls right from real life onto paper. Those who love gear and specs and processes are often seen as amateurish (unless you're working with a process older than any living human). And on the other hand, I know I have a hard time taking anyone seriously that just talks in theory and concepts and abstractions without ever acknowledging that, at the end of the day, they had to press at least one button to take the picture. I am trying to split that gap here. I share these details about my picture-making process in the hopes that someone out there, who for some reason is VERY interested in my work, can gain a better understanding of the things that I make. With that said, back to the never-ending explanation.
The recipe below goes into more of the nitty-gritty of my toning process, but in simple terms, I make the RAW file look as much like a film scan as I can (very flat and desaturated), and then build the image back up with the same Photoshop tools as I use for film. This is certainly not the best way to get perfectly accurate colors or batch process hundreds of pictures, but I have found it the best way to get a digital picture to a place where it fits right in with my film scans. I’m sure I am breaking many digital processing rules and all the professional retouchers reading this have already jumped out of their chairs in anger, but at the end of the day, it works.
Printing is where things get interesting (if you think laser printers are interesting). I could go on about how I think every photographer should invest in a color laser printer and learn how to use it well, but I’ll keep it relatively short. The power of the laser printer for photographic prints is not really the quality or the aesthetic (which can certainly be stunning), but that test prints and proofs are basically free once you have the materials. Because I can print about 100 tests of a laser print for what a single inkjet print costs, I can make 100 changes to improve the print before I show it to anyone. Not only does this create a better final print, but that iterative process is how you learn to edit pictures. Printing photos isn’t just about translating what is on the screen to a piece of paper, it's about training your eye to see a good print and know how to make it better. The more I can do that, the better printer I can be. So, my process of making quality laser prints involves TONS of tests, tiny corrections, and patience. And a constant stash of Walmart index cards.
Surely no one is reading by now. Thank you if you made it this far. In doing some research for this post, I noticed these recipe stories usually end quite abruptly, as if you hit a certain word count and stop right there. So, in the interest of being authentic, that’s it. Please send any questions you would like to see answered in the next 1500-word introduction.
Recipe:
Ingredients
1 Digital camera with RAW file output (in my case a Fujifilm GFX50R)
32 GB SD card with the fastest write-speed you can afford, and a backup
As many mailboxes as you can find on a late afternoon walk
12 Month Subscription to Adobe Lightroom and Photoshop
Way too many adjustment layers
1 Used Konica-Minolta Bizhub C302 office laser printer, found on Facebook Marketplace
Assortment of copy paper in different weights and surface finishes
As many packs of Walmart index cards as are on the shelf
Enough patience to look at a sixteenth test print and decide it still needs work
1 Filing cabinet to store prints and works in progress
1 TB solid state working drive
4 TB backup hard drive
Directions
Pick up camera of choice and decide to take pictures
Camera set to:
RAW
The flattest possible picture profile
Aperture priority
-1 exposure comp. to preserve highlights
Manual focus with red focus peaking
Square crop to compose with
Format the SD card in the camera
Take pictures
Import pictures through Lightroom
Save on drive automatically by date
Create a new collection to group images
Star images that are worth working with
Choose an image to tone and color correct
Make Lightroom corrections
Crop image
Make sure the ultra-flat color profile is selected
If over 800 ISO, turn off Lightroom sharpening
Bring Contrast slider to -100
Adjust Highlight, Shadow, White, and Black sliders to ensure no information is clipping on either end of the histogram
Right-click to Edit in Photoshop
Tone image in Photoshop
Check to make sure the color mode is RGB and the color profile is set to ProPhoto RGB
Make a Levels layer
Alt. click on Auto to select Enhance Per Channel Contrast with Shadow and Highlight clipping both set to 0.01
Set the Levels layer type to Luminosity
Make a Color Balance layer
Adjust to achieve neutral tones
Make Curves layer
Adjust to add contrast, to taste
Readjust Color Balance layer
Make local adjustments using Curves, layer masks, and the Brush tool on the softest setting
Accentuate important colors with Hue/Saturation layer
Save image
Save As to the desktop to make a printing file
Print the image
Open print file on desktop in Photoshop
Resize the image to slightly bigger than expected print size
300 DPI
Bicubic Sharper resampling when making the image smaller
Sharpen (if needed) with Nik Software Sharpener Pro 3 output sharpening tool
Print image through Photoshop
Select laser printer
Select paper size preset and correct paper tray in the printer dialogue
Also in printer dialogue, set Print Quality to Photo, Pure Black to On, Screen to Graduation, Smoothing to Light, and RGB Color to sRGB
Set Photoshop Manages Colors with sRGB color profile
Resize the image to desired dimensions always leaving a border
Print image
Review print
Open blinds and use sunlight to analyze prints
Check for any missing detail in the brightest and darkest parts of the image
Check for accuracy of colors and gradation across the print
Check for true neutral tone or presence of color cast
Check for sharpening or oversharpening
Judge overall brightness and contrast, taking into consideration the paper’s specific limitations
Make changes
Make another print
Repeat the previous three steps until the print looks as good as you can make it, or you give up
Attach print to the filing cabinet with a small magnet
Let print marinate in the office/studio space for a few days
Reprint if necessary after later review
Photograph print under natural light using your iPhone
Write a whole newsletter post to justify making prints on a copy machine


been browsing fb mktplce for a laser printer for months & this is going to be massively helpful when i decide to finally pull the trigger. also would be curious to see how your <taken images : used images> ratio has changed since switching to the gfx
Those pop-ups that appear right in the middle of the recipe and continue to appear as fast as you can close them drive me CRAZY!!! FYI…. I DID read to the end! ❤️